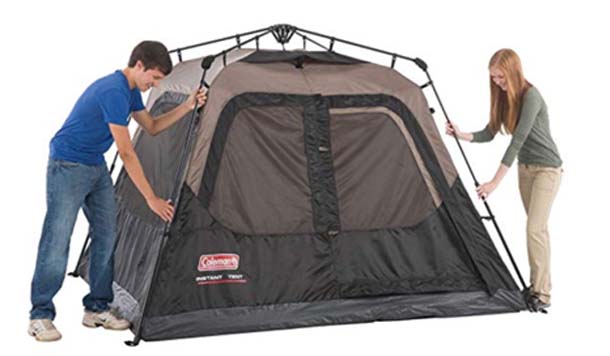
Setting up a tent is an essential skill for anyone who loves the great outdoors. Whether you’re an experienced camper or a beginner, knowing how to set up your tent properly is the key to a comfortable and enjoyable outdoor adventure. In this comprehensive guide, we’ll walk you through the step-by-step process of setting up a tent, from choosing the perfect campsite to securing the rainfly. So, let’s dive in and make your next outdoor experience a memorable one!
Selecting the Ideal Campsite
Choosing the right campsite lays the foundation for a successful tent setup. Follow these steps to find the perfect spot:
Choosing the Perfect Campsite for Your Tent Setup
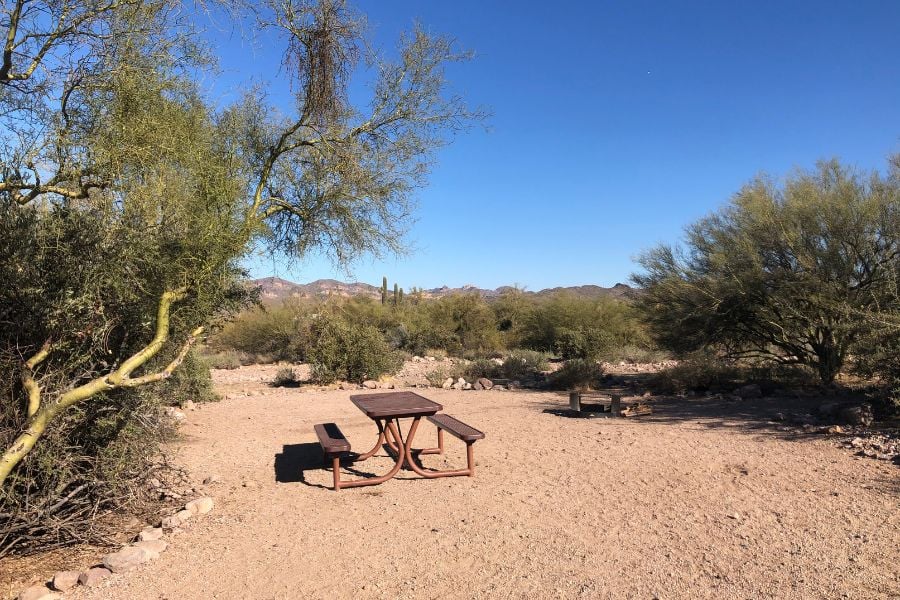
When setting up a tent at your chosen destination, the initial step is to identify an ideal campsite. This involves seeking out a level ground and considering various factors for a successful camping experience.
One crucial aspect is selecting higher ground to avoid issues with condensation that commonly occur at lower altitudes. Protection from the elements is also important, particularly in windy conditions, where a natural windbreak can be beneficial.
During the summer, prioritize shaded spots to shield yourself from the sun and reduce condensation. However, be cautious of damaged or unhealthy trees that could pose a threat to your tent. Similarly, ensure a safe distance between your tent and the campfire to prevent embers from causing damage or a fire.
Tent orientation plays a surprising role. In hot weather, position the tent door to face the wind for effective ventilation, while in windy conditions, align the tent’s strongest poles with the wind to ensure stability.
Lastly, adhere to Leave No Trace principles to minimize your impact on the environment. This involves using existing campsites, setting up a reasonable distance from water sources, maintaining small campsites, and avoiding areas with vegetation.
By considering these factors and tips, you can enhance your camping experience and create lasting memories while respecting the environment.
Key Points:
- Level Ground: Opt for flat areas for your tent setup.
- Higher Ground: Choose elevated spots to prevent condensation.
- Wind Protection: Find natural windbreaks to shield from gusts.
- Shady Spots: Pick tree-covered spots for shade and less condensation.
- Tree Safety: Avoid damaged trees for safety.
- Fire Safety: Keep a safe distance from the campfire.
- Tent Positioning: Align tent door with wind for cooling or strongest poles for stability.
- Leave No Trace: Follow camping principles for minimal impact.
Enjoy a hassle-free camping experience by considering these essentials for the perfect campsite selection.
Step 1: Evaluating the Ground
When selecting a location, look for a flat and even area to pitch your tent. Clear away any rocks, debris, or sharp objects that might affect your comfort. Also, avoid setting up in low-lying areas prone to collecting water, and steer clear of spots under dead trees or overhanging branches.
Step 2: Considering Sun and Wind
Position your tent strategically to take advantage of natural shade and protection from the wind. It’s a good idea to orient the tent door away from prevailing winds and toward scenic views if possible.
Unpacking and Organizing
Before you begin setting up your tent, take a moment to unpack and organize your gear for a smoother process:
Step 3: Laying Out the Components
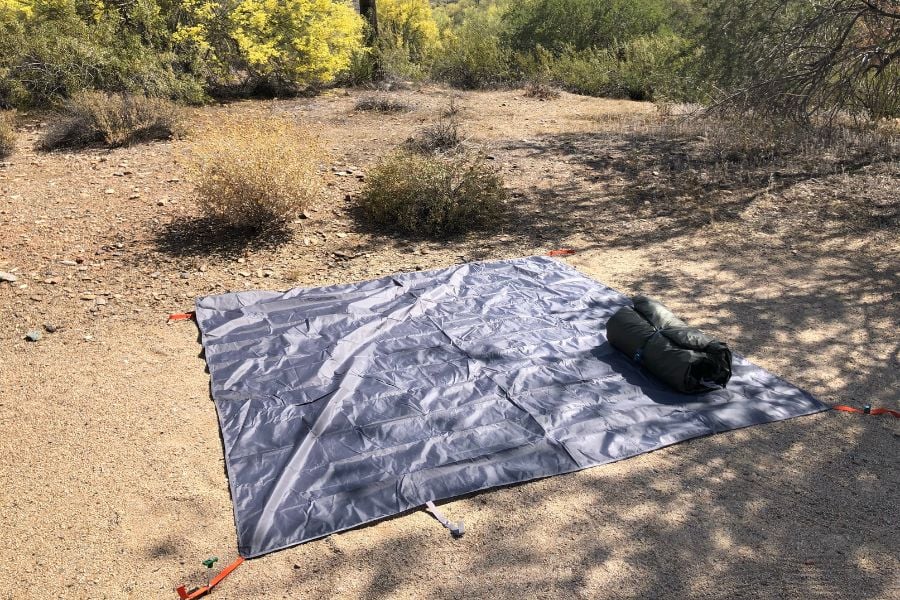
Spread out the tent body, rainfly, poles, stakes, and guylines. Familiarize yourself with each component to make the setup easier and more efficient.
Step 4: Assembling the Tent Poles
Assemble the tent poles according to the manufacturer’s instructions. Many tents feature color-coded poles and sleeves, which simplifies the assembly process.
Erecting the Tent
Now it’s time to put your tent together:
Step 5: Inserting the Poles
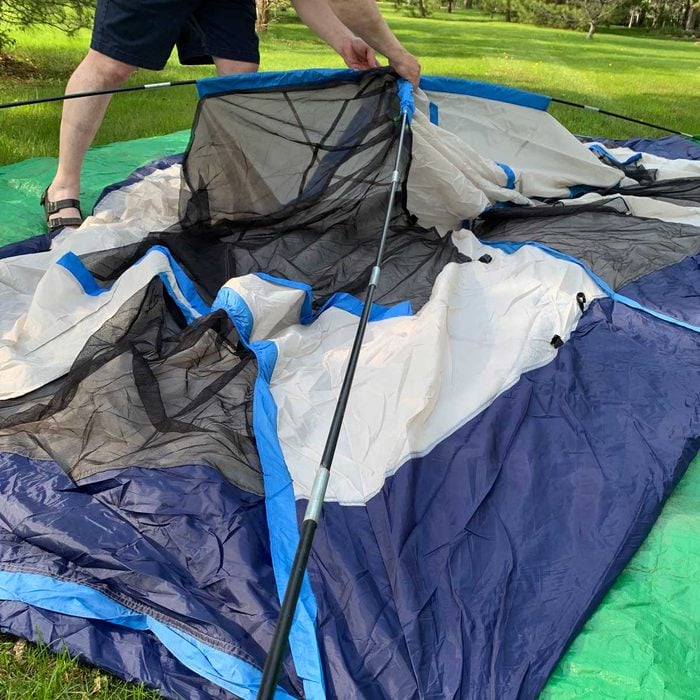
Gently slide the assembled poles into the corresponding sleeves on the tent body. Flex the poles slightly to fit them securely, ensuring a stable connection.
Step 6: Raising the Tent
With the poles in position, stand at the center of the tent and lift it upright. Ensure the tent is evenly stretched, and the poles are fully inserted for maximum stability.
Step 7: Staking Down the Corners
Using the provided stakes, anchor the corners of the tent to the ground. This step is vital to prevent the tent from shifting or collapsing, particularly in windy conditions.
Attaching the Rainfly
Adding the rainfly provides extra protection for your tent:
Step 8: Attaching the Rainfly
Secure the rainfly to the tent using the buckles or clips provided. The rainfly not only shields your tent from rain but also offers additional insulation.
Finalizing the Setup
Complete the tent setup process with these final touches:
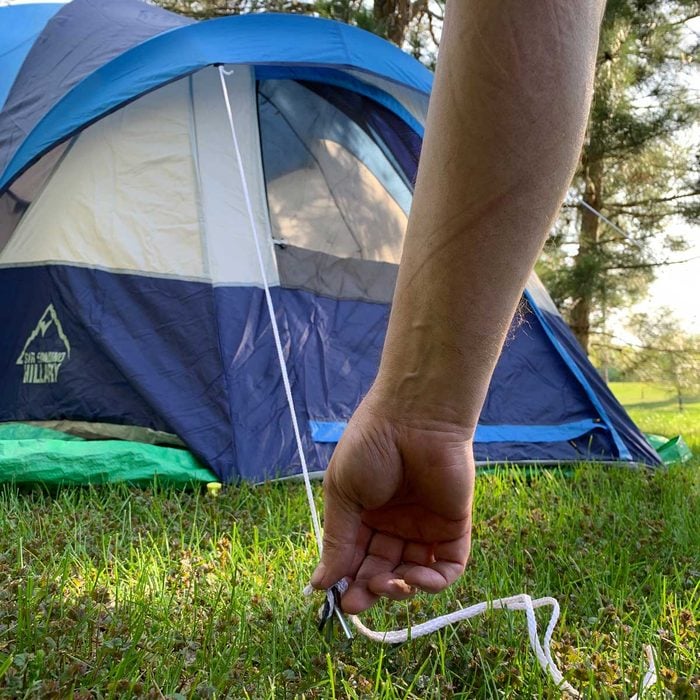
Step 9: Adjusting and Tensioning
Walk around the tent and fine-tune the tension of the guylines to ensure the tent is stable and properly aligned.
Step 10: Organizing the Interior
Arrange your sleeping gear and personal belongings within the tent. Utilize storage pockets and compartments to keep items organized and off the floor.
FAQs: Answering Your Tent Setup Questions
- How long does it take to set up a tent? The time required for tent setup depends on factors such as your experience, the type of tent, and your familiarity with the process. With practice, you can assemble a basic tent in approximately 10 to 15 minutes.
- Can I set up a tent alone? Yes, you can definitely set up a tent on your own. However, having a partner can expedite the process, especially with larger tents.
- What if the ground is uneven? If you encounter uneven terrain, look for the flattest area possible. You can also use extra stakes and guylines to adjust the tent’s shape and tension.
- How do I pack up the tent? To pack up the tent, follow the reverse process: remove the rainfly, collapse the poles, detach the guylines, and fold the tent according to the manufacturer’s guidelines.
- Can I set up a tent in the dark? While it’s feasible to set up a tent in low light conditions, it’s advisable to do so during daylight hours for safety and accuracy.

